Building Your Dream 10x12 Shed: A DIY Guide
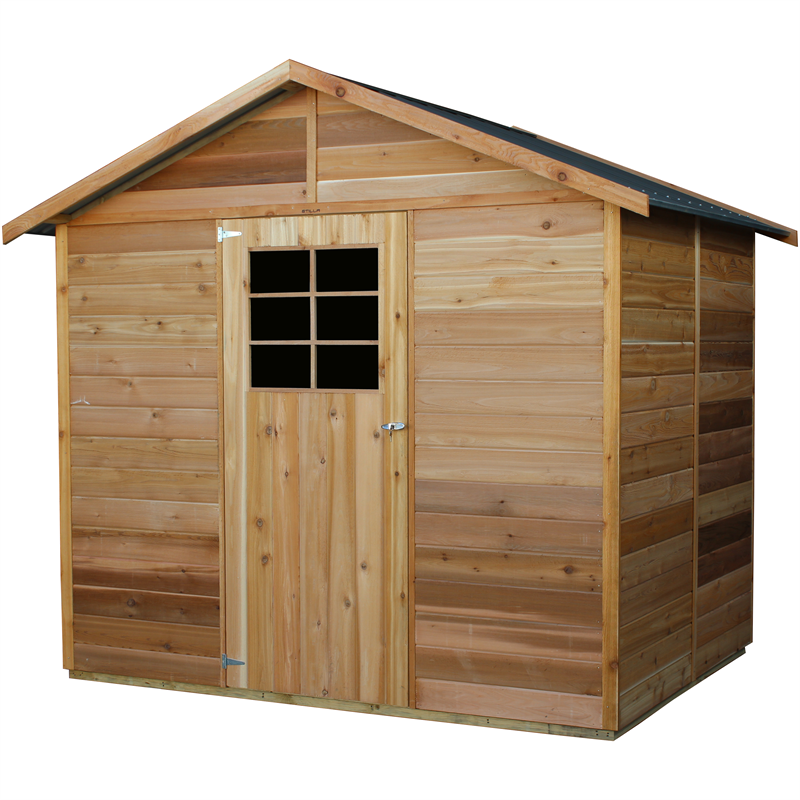
So, you're thinking about building a 10x12 shed? Awesome! That's a great size for storing all sorts of things – garden tools, lawnmowers, bikes, even a workshop if you get creative. This guide will walk you through the process, from planning to finishing touches, in a way that's easy to understand, even if you've never built anything like this before. Grab a cup of coffee, get comfy, and let's get started!

Phase 1: Planning and Preparation – The Foundation of Success
Before you even think about buying lumber, you need a solid plan. This isn't just about throwing some boards together; we're building something that's going to last. Let's break down the essential planning steps.

1. Site Selection:
Where will your shed live? Choose a level spot with good drainage. Consider proximity to power if you plan on using electricity inside. Check local building codes – you might need permits depending on your location and the shed's size.
2. Materials List:
This is where things get detailed. You'll need a comprehensive list, which will vary slightly depending on your design choices. This is a *rough* estimate, and you should adjust based on your specific plans and local lumber pricing:
- Pressure-treated lumber for the base: Approximately 100 linear feet of 4x4s and 150 linear feet of 2x6s (or 2x8s for extra sturdiness).
- Framing lumber: Around 300 linear feet of 2x4s and 150 linear feet of 2x6s for walls, rafters, and roof supports. Choose pressure-treated for the bottom plates.
- Sheathing (plywood): At least 2 sheets of ½ inch plywood for each side of the shed walls and the roof.
- Roofing material: Your choice! Asphalt shingles are common and relatively inexpensive. Calculate the square footage of your roof to determine the amount needed.
- Siding: Choose a material you like – vinyl, wood, metal. Again, calculate the square footage of the walls to determine the amount needed.
- Doors and windows: Pre-hung doors and windows make the process much easier. Decide on the size and style you want.
- Fasteners: Plenty of nails, screws, and possibly lag bolts for heavier connections.
- Concrete (for a concrete base): This will depend on the size and depth of your base.
- Other items: House wrap, flashing, roofing cement, paint or stain (optional), tools (saw, hammer, level, drill, etc.).
Important note: Always buy slightly more materials than you think you'll need. It's better to have extra than to run short mid-project.
3. Foundation:
You have options here. A simple gravel base is easiest, but a concrete slab provides a much more stable and long-lasting foundation. A pier and beam foundation is another option providing good drainage and durability, but adds complexity.
Phase 2: Construction – The Hands-On Part
With your plan and materials ready, it's time to get building! This is a simplified overview; detailed instructions are readily available online and in books.
1. Building the Foundation:
If you chose a concrete slab, follow the instructions for mixing and pouring concrete. Allow ample curing time before proceeding. A gravel base requires leveling the ground, laying down gravel, and compacting it well. For pier and beam, dig post holes, set posts in concrete, and then frame the base.
2. Framing the Walls:
Construct the walls on the ground for easier assembly. Use your 2x4s to create the wall frames, ensuring they are square and plumb. Attach the sheathing to the frames once assembled.
3. Raising the Walls:
Carefully lift and secure the walls to the foundation. Use temporary bracing to keep them stable until fully secured.
4. Roof Construction:
Build the roof trusses or rafters, depending on your design. Attach them to the top plates of the walls and install the sheathing. Add roofing felt before laying down your chosen roofing material.
5. Installing Doors and Windows:
Cut openings for your doors and windows, carefully measuring and cutting. Install the pre-hung units according to their instructions.
6. Siding and Finishing Touches:
Install your chosen siding, paying attention to details like overlaps and sealing. Add trim and any other desired features.
Phase 3: Final Touches – Making it Yours
Once the structure is complete, it's time to add those finishing touches that will make your shed truly yours.
1. Interior Finishing:
This could include anything from painting the walls to installing shelves and workbenches. Get creative!
2. Electrical (if applicable):
If you're adding electricity, make sure you follow all safety regulations and, ideally, hire a qualified electrician. Never work with electricity unless you are experienced and knowledgeable.
3. Landscaping:
Consider adding landscaping around your shed to make it look even better and integrate it into your yard.
Commonly Asked Questions
Q: Do I need a building permit?
A: It depends on your local regulations. Check with your local building department.
Q: How long will this take?
A: It varies greatly depending on your experience and the complexity of your design. Allow ample time – a couple of weekends is optimistic for an experienced builder; several weeks may be more realistic for a novice.
Q: What tools do I need?
A: At minimum: a saw (circular saw or hand saw), hammer, drill, level, measuring tape, safety glasses, work gloves.
Q: Can I build this alone?
A: While possible, it's much easier and safer to have a helper, especially for lifting and securing the walls.
Q: What if I make a mistake?
A: Don't worry, everyone makes mistakes! Take your time, double-check your measurements, and if you make a mistake, try to fix it or adjust your plan as needed.
Building your own shed is a rewarding experience. With careful planning and execution, you'll have a beautiful and functional addition to your property. Remember to always prioritize safety and take your time. Good luck!